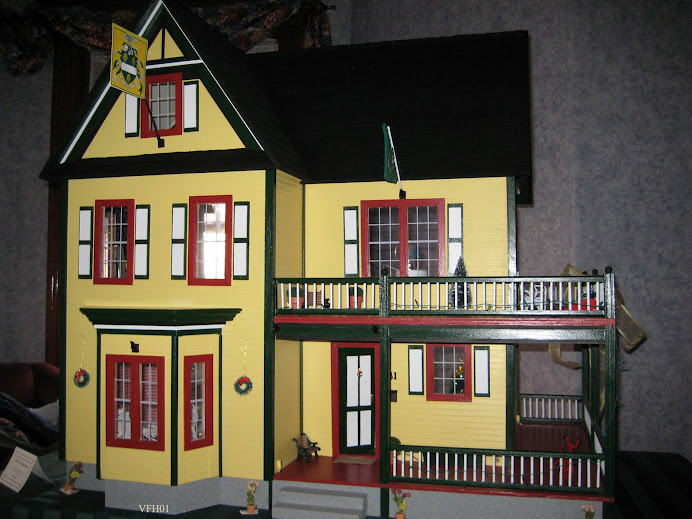
If you are building a dollhouse with exterior posts, balusters, and railings, this is one of the places where lack of quality in workmanship can really stand out. It is also a place where you have an excellent opportunity to make your dollhouse look great. If you were to paint all of the posts, balusters, and railings white, for example, it will help mask minor workmanship issues. On the other hand, using different complementary trim colors will draw the eye to the details. The workmanship, good or not so good will stand out to a much greater extent.
Things to consider when assembling posts, balusters, and railings:
- Balusters need to be straight and evenly spaced with enough accuracy for the eye to not be able to detect any real variance.
- The ends of top and bottom railings need to be in line or you will have fit problems later when you go to install the sub-assembly to posts and/or the house. I strongly recommend using a square (or other right angle jig) to make sure that the top and bottom rails are both parallel to each other and that the top and bottom rail ends are properly lined up (form a 90 degree angle) while the sub-assembly glue dries.
- When gluing baluster and railing sub-assemblies to posts and/or the house, use spacers (like scrap pieces of trim) to insure an even height between the railing and the closest parallel surface (such as a porch floor). You also need to make sure your railing sub-assembly remains vertically aligned. If an imaginary line though the top and bottom rail is not perpendicular to the horizontal, it might not show up very much when looking at it face on so be sure to check it by looking at it from the side as well.
- Painting before or after post, baluster, rail assembly is a decision you will have to make for yourself. Either way, you can get a quality result. If you’re balusters and railings are going to be the same color, it could be faster / easier to paint after assembly due to the fact that you need not be too careful with ‘slapping’ extra paint down into the railing grove area. Given the pros and cons of each that I’ve become aware of, coupled with that fact that I never have balusters and railing the same color, I paint first and then assemble (and then paint again doing touchup). The most significant con of painting first is that fitting the balusters into the railing groves can become more difficult (due to the space taken up by the thickness of the coat(s) of paint). The wood is generally soft enough that you will still be able to get the balusters seated well enough by applying a little force. Perhaps the second biggest con of painting first is the all the handling of painting many balusters one at a time. If you are doing this, it helps to attach some strips of masking tape (sticky side up) to your work bench. As you paint each baluster, you can stand it up on end on the tape while the paint dries. Cons of painting after assembly are all related to the difficulty of getting paint coverage down into the area where the blusters go into the railing grove.
- Need some post assembly paint touch up of different color balusters and railings? Which color do you do first? I think it is easier to touch up a railing where the baluster meets it than to touch up a baluster where it meets the railing. If the covering power of the railing color is greater than the baluster color, (typically darker colors will have better coverage than lighter colors) then I suggest doing baluster touch-up first. You might also want to note that color coverage is reduced when painting over un-sanded paint with a gloss (or semi-gloss) finish.
Here is an additional consideration, for those looking to continue to take things a step further. Many balusters / railing kits have railings with a grove cut in the length of it to insert and glue the balusters.
Having never seen a real house with such a grove in the railing, you can consider filling in that grove after the balusters are firmly in position. This can be a somewhat painful process (or at least very time consuming) but when done well looks so much better. Doing this is enough work that if your building a toy with a life expectancy of most children’s toys, I question if it is worth doing. On the other hand, if you’re trying to build something higher end, have the will and the time, then read on.
I’ve tried different materials as fillers including wood fillers, glue, and even paint. They all shrink as they dry and therefore require multiple coats to fill the grove flush with the rail surface. Sanding down excess filler isn’t a lot of fun either but if you need to do this, a small woodworking file seems to be the tool of choice because it allows you to smooth the filler flush with the rails and get in tight around the balusters. When filling the grove, I use a utility knife blade (without the holder) to work the filler into the grove, shape the top of it flush with the sides of the rail, and remove any excess filler. Keep in mind that shaping wood filler (in tight spots such as this) is faster when the filler is soft / wet than after it has dried and become hard. When you finally get the fill job looking good, paint touch-up will be required.




No comments:
Post a Comment