Part Inventory:
The first thing to do is to do a part inventory and inspection. You should make sure you can identify every part in your kit with the parts list. On the off chance that you find you have any missing or damaged parts, you will want to know that it can be resolved before putting a lot of time into your project. Even without missing or damaged parts, it is possible that failure to properly identify some parts could result in you using the wrong part in some part of the build process and not find out until later when the part you should have used instead doesn’t fit right somewhere else. Although a lesser problem, failure to understand where a part goes and how it will fit might cost you some extra time further down the build process. An example of this might be not pre-painting (the correct color) some part of a part that will show after assembly and not finding out until you are ready to glue it in place. Unless it is just as easy to paint after assembly it will cost you extra time to either pre-paint now before assembly or after assembly. While many parts are pretty obvious (like an exterior front wall) others might not be. As I identify such parts, I will often label them with not only the part name but also with orientation information with arrows to indicate things like front, back, left, right, top, bottom, etc. Using pieces of masking tape as part labels can be helpful. Sometimes I will even mark which edge of part needs to overlap the end of an adjacent part. (Mixing an overlap up in assembly is sometimes very problematic.)
Square Window and Door Cut-Outs:
These cut outs are typically done at the factory with a router type machine and as such leave rounded corners. To square up these corners, take a straight edge along the straight part of the cut out and extend a guide line beyond where the cut will stop. Some kit instructions will suggest using a utility knife to remove the excess material but if you have a fine-woodworking reciprocating table saw, you can save a lot of time (and get very clean / straight cuts into the corners). If you have pre-assembled window or door frames, use them to check for proper fit. If you have door cut outs on inside wall partitions that will not be having doors installed, you should still square up those cut outs at this time because rounded inside corners will be problematic for any subsequent wallpapering or door trims being added later.
Sanding:
If the exterior of your dollhouse is (or will be) milled MDF, it is worth doing some sanding before painting. The best way to do this is with a piece of medium (about 100 to 120 grit) sandpaper wrapped around a tapered block of wood that can fit nicely into the place where each ‘clapboard’ overhangs the one below it. It should only take a few strokes along each row to get it smooth enough to look right when painted. Clapboards (like cedar shingles) are not super smooth on real houses.
With the exception of the exterior of the house body and already very smooth MDF panel surfaces, most all other parts that will get painted should get a good sanding before their first coat of paint. If after a coat of paint, it looks rough give a light sanding before painting again. If you are adding an additional coat of paint for coverage reasons and painting over a ‘glossy’ surface, light sanding between coats will get you better coverage per coat of paint.
Interior Walls and Ceilings:
I like to pre-paint all interior walls and ceilings with a flat white paint before assembly (while these parts can still lay down flat on my work bench). Painting all of these parts at once with a small (3 or 4 inch) paint roller makes short work of it and makes for a quality paint job. Smooth MDF parts will often take multiple coats to get good coverage but if you do all of these parts in one shot (and can start another coat before having to clean up your roller and paint tray) you can same a lot of time. On inside walls, I’m not looking for perfect coverage (as these walls are yet to be wired for electrical service and eventually wallpapered). On ceilings, I want the coverage to be good enough that any re-painting and/or touchup done after assembly doesn’t require any extra brush work in places the roller won’t fit into.
Why bother putting flat white paint on interior walls? If you do it in bulk as suggested above, it does not take very much extra time. The extra time spent doing it can make other (later) tasks easier which can lead to other time savings, increased quality or both. I’ll offer two examples. When installing tape electricity runs in tight places it can be difficult to follow pencil guidelines on a darker surface. This can be especially true going into and back out of an inside corner. Ease of seeing guidelines also applies to wallpapering but with wallpapering, you might also find that papering over a pre-painted wall surface gives you some added ‘workability’ in the wallpaper fitting and hanging process.
Tape Type Electric System Layout Lines:
If you are going to install the tape type electric system, placing layout lines on ceilings and walls is much easier when these parts can all be laid down flat on your work bench. For more on this please see separate post on electricity in your dollhouse.
Roofing Shingles Layout Lines:
Like other layout lines, these are much easier / faster to do when the part is laying flat on your workbench. For more on this please see separate post on roofing.
Complex Angles and Wallpapering:
If you have any complex angles on interior walls that are to be wallpapered, it can be helpful to use the unassembled parts to cut the pieces of wallpaper you will need (or at least trace these parts so you can have a template for cutting your wallpaper later). I am using the term complex angle to describe any inside or outside corner where the joint is not 100% vertical. Even dry fit cutting after assembly can sometimes make you wish you cut the piece of wallpaper before the walls got assembled. For more on this subject please see separate post on wallpapering.
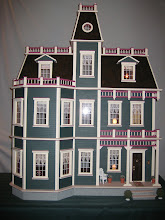
Wish I built this one 20 years ago for my own daughter

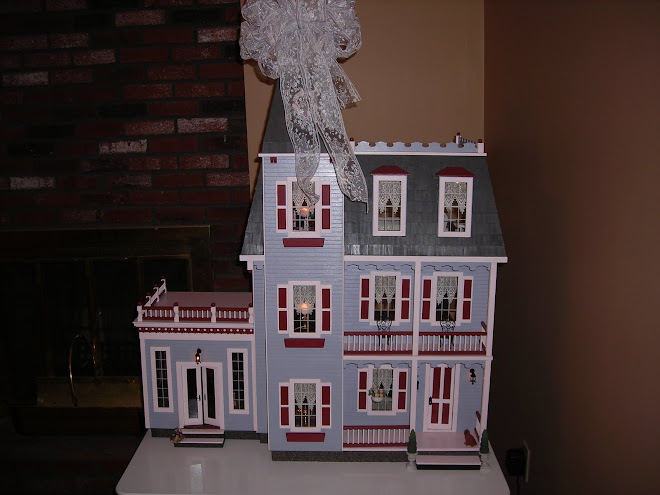
2nd house I started / 3rd to be completed (don't ask)
How I got started building dollhouses
Thursday, June 18, 2009
When folks see some of the houses I've built, many will ask how I got started building them. The very short answer is "it is my wife's fault". My wife has a weekly woman’s group that started out as a 'knitting' group but 'knitting' does not even begin to describe the types of craft and community service projects they have undertaken. It has been said that they could run a small country (and just for the record, I would agree). So when my wife found out that there was a dollhouse kit at one of her friend's house that had been started, (barely started as I later found out) packed up in a few boxes, and not touched for several years due to the lack of someone to build it, my wife told her friend bring it over and we'll have the Tuesday night girls do it. She went on to say I'll have my husband 'electrify' it. Later she told me about it and asked "you CAN put electricity in it right?" To which I replied "Sure, I am an Electrical Engineer... I can put electricity into most anything." It wasn't until the boxes of parts came to my house that I realized that yours truly was about to become the general contractor (and all the sub-contactors as well). Every week, when the women came over for their weekly 'knitting', they couldn't wait to checkout the progress I had made since they saw it last. Given all this encouragement, I continued to plow ahead. Somewhere about half way through construction I realized that you can build a dollhouse kit and have it look like crap or have it look pretty darn good. It is the attention to detail and precision work that determine which way things will turn out. By the time I was making the final finishing touches and getting ready to let this house go to the owner's granddaughter that it had always been intended for, I knew some day I would built another one. I just didn't think it would be so soon! About a month later I was coming back from a business trip in Europe and my wife picked me up at the airport. There was a brand new dollhouse kit in the back of the car. Part inventory started that night and part preparation started the very next day. As I write this, I've completed four dollhouses, have a fifth house in the build process and most of the materials for a sixth house.
When folks see some of the houses I've built, many will ask how I got started building them. The very short answer is "it is my wife's fault". My wife has a weekly woman’s group that started out as a 'knitting' group but 'knitting' does not even begin to describe the types of craft and community service projects they have undertaken. It has been said that they could run a small country (and just for the record, I would agree). So when my wife found out that there was a dollhouse kit at one of her friend's house that had been started, (barely started as I later found out) packed up in a few boxes, and not touched for several years due to the lack of someone to build it, my wife told her friend bring it over and we'll have the Tuesday night girls do it. She went on to say I'll have my husband 'electrify' it. Later she told me about it and asked "you CAN put electricity in it right?" To which I replied "Sure, I am an Electrical Engineer... I can put electricity into most anything." It wasn't until the boxes of parts came to my house that I realized that yours truly was about to become the general contractor (and all the sub-contactors as well). Every week, when the women came over for their weekly 'knitting', they couldn't wait to checkout the progress I had made since they saw it last. Given all this encouragement, I continued to plow ahead. Somewhere about half way through construction I realized that you can build a dollhouse kit and have it look like crap or have it look pretty darn good. It is the attention to detail and precision work that determine which way things will turn out. By the time I was making the final finishing touches and getting ready to let this house go to the owner's granddaughter that it had always been intended for, I knew some day I would built another one. I just didn't think it would be so soon! About a month later I was coming back from a business trip in Europe and my wife picked me up at the airport. There was a brand new dollhouse kit in the back of the car. Part inventory started that night and part preparation started the very next day. As I write this, I've completed four dollhouses, have a fifth house in the build process and most of the materials for a sixth house.
Monday, September 28, 2009
Subscribe to:
Post Comments (Atom)


No comments:
Post a Comment